

Top-Rated Furniture Refinishing Kits for Beginners in 2026
Table of Contents
- What Makes a Furniture Refinishing Kit Beginner-Friendly
- Comparison: Top-Rated Furniture Refinishing Kits for Beginners
- The Best Furniture Paint for Beginners: Why Formula Matters More Than Color
- How to Paint Furniture Without Brush Strokes: Step-by-Step for First-Timers
- What You'll Need
- Step 1: Clean the Surface [Time: 15 minutes]
- Step 2: Scuff Sand [Time: 20 minutes]
- Step 3: Roll the Flat Areas [Time: 30 minutes]
- Step 4: Smooth With a Brush [Time: 15 minutes]
- Step 5: Apply Thin Coats [Time: 2-3 hours with drying]
- The Best Roller for Painting Furniture (and Why Pile Height Decides Your Finish)
- How to Seal Painted Furniture Without Streaks
- Common Mistakes Beginners Make With Furniture Refinishing Kits
- Conclusion: Choosing Your First Kit
- Frequently Asked Questions
Last Updated: October 14, 2026
What Makes a Furniture Refinishing Kit Beginner-Friendly
The best furniture refinishing kits for beginners are complete, matched sets that remove guesswork: prep cleaner, a quality brush, a smooth-finish roller, and a protective topcoat. Beginners who buy tools piece by piece end up with mismatched supplies and a patchy finish.
A beginner-friendly kit solves that. It bundles products chosen to work together, so you spend less time researching and more time painting.
Selection Criteria: What to Look For Before You Buy
Judge any kit on five things:
- Prep included: A cleaner like TSP Alternative and a sanding block for scuff sanding
- Tool quality: A synthetic brush for edges and/or a microfiber roller for flat surfaces
- Protection: A topcoat or sealer to lock in the finish
Comparison: Top-Rated Furniture Refinishing Kits for Beginners
Most roundups compare paint brands or individual tools. This one compares complete beginner kits on the same surface, with the same prep, so you can see what actually produces a smooth, streak-free finish.
Kit |
Price (CAD) |
What's Included |
Coverage (per kit) |
Tested Finish |
Best For |
|---|---|---|---|---|---|
$79 |
TSP Alternative cleaner, 1.5" flat StaalMeester brush, brush soap, sanding block |
~1 small side table or nightstand |
Smooth on flat surfaces; brush marks visible on large panels without a roller |
First small flip |
|
$110 |
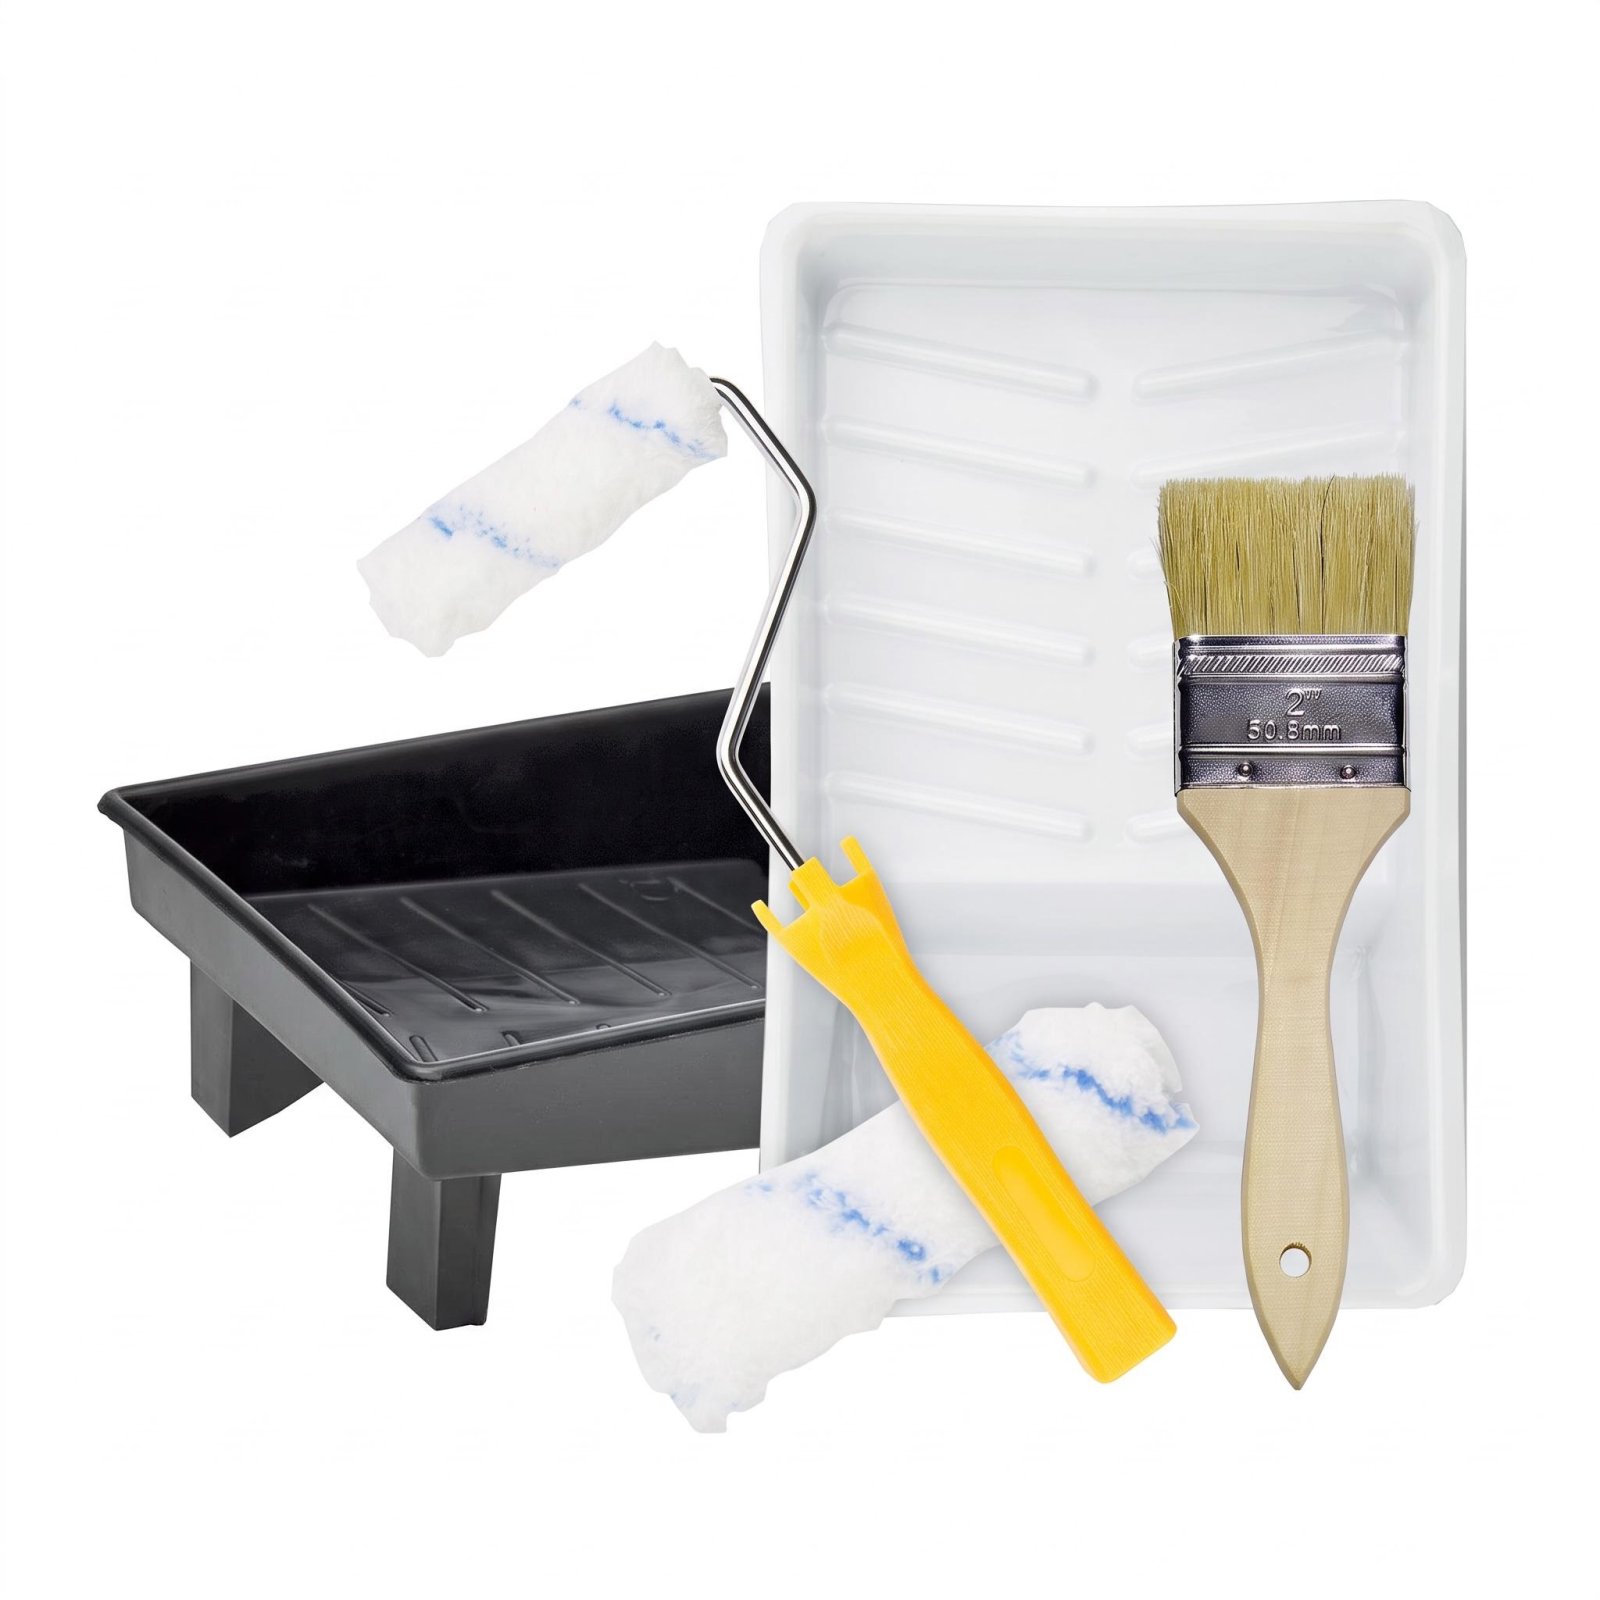
Essentials plus 7" x 12" tray, liner, microfiber roller, roller arm, spare refill |
~1 dresser or buffet (2-3 thin coats) |
Smoothest of the group; roller plus brush pass eliminated stipple |
Dressers, buffets, TV consoles |
|
$179 |
Medium kit plus Ultra Grip bonding agent, Tough Coat topcoat, decoupage gel, beeswax and hemp wood finish, clear wax, sanding pad, Smooth Embossing Paste |
~1 large dresser plus practice pieces |
Smooth on both wood and laminate; bonding agent prevented peeling on glossy factory finish |
Learning multiple techniques |
|
$22 |
Tray, liner, microfiber roller, refill, 2" chip brush |
Tools only; no paint, prep, or topcoat |
Depends on your paint and prep |
Tools only |
What the testing showed
- Smoothness: The 3 mm microfiber roller laid paint down without the orange-peel texture that standard 10-15 mm nap rollers leave.
- Streaking: Minimal streaking or brush strokes with a quality synthetic brush.
- Coverage: If you are painting a large hutch or a set of chairs, budget for extra paint.
Cost per project
Kit price is not the whole cost. Here is what a typical dresser project actually runs:

Item |
Cost (CAD) |
|---|---|
Beginner Bundle - Medium to Large |
$110 |
Furniture paint (1 L, enough for 2-3 coats on a dresser) |
$32 - $55 |
Optional second topcoat for high-traffic pieces |
$25-$35 |
Total for a first dresser project |
$170-$200 |
The Paint Kit Bundle at $22 is the cheapest entry point, but you still need paint, prep cleaner, and a topcoat.
How to choose based on your project
- Small side table or nightstand: The Essentials at $79 is enough.
- Dresser, buffet, or TV console: The Medium to Large at $110 is the best value because it includes the roller and tray that make the biggest difference in finish quality.
- Laminate, glossy, or factory-finished piece: The Serious Learner at $179 includes Ultra Grip bonding agent, which is the single item that prevents peeling on slick surfaces.
The Best Furniture Paint for Beginners: Why Formula Matters More Than Color
The best furniture paint for beginners is a water-based mineral paint with strong adhesion and self-leveling properties. Color is the fun decision. Formula is the one that decides whether your finish survives daily use.
Look for three things:
- Adhesion: Paint that grips without heavy sanding
- Leveling: Paint that flattens as it dries for a smooth finish
- Durability: A finish that resists chipping on chairs and tables
A common mistake is buying a cheap general-purpose paint and expecting furniture-grade results. Kitchen chairs take a beating. Paint formulated for walls won't hold up.
Compatibility: Which Products Work Together
Most beginner frustration comes from mixing products that do not bond to each other. Here is what works together in a typical water-based system:
Layer |
What to Use |
What to Avoid |
|---|---|---|
Prep |
TSP Alternative or a degreaser, then scuff sand |
Oil-based cleaners that leave residue |
Bonding agent (for laminate, glossy, or factory finishes) |
Ultra Grip or a similar water-based bonding primer |
Skipping it on slick surfaces |
Paint |
Water-based mineral paint or furniture paint |
Wall paint, chalk paint without a topcoat on high-traffic pieces |
Topcoat |
Tough Coat, polycrylic, or a water-based sealer |
Oil-based polyurethane over light colors (it yellows) |
A simple rule: keep the whole system water-based. Water-based products bond to each other reliably, clean up with water, and do not yellow. If you switch to an oil-based topcoat over a water-based paint, you risk adhesion failure and yellowing on whites and pastels.
Durability: What Survives Daily Use
After a full cure, water-based mineral paint with a topcoat holds up well on dressers, buffets, and side tables. On kitchen chairs, entryway benches, and kids' furniture, the topcoat is what determines whether the finish lasts.
- Scratch resistance: A topcoat roughly doubles the scratch resistance of paint alone. Without it, edges and corners wear through within months on high-traffic pieces.
- Water resistance: Water-based topcoats resist spills and wiping. Unprotected paint will soften and lift if water sits on it.
- Wear resistance: On chairs, the seat and the top rail take the most abuse. Two thin topcoats on those areas extend the life of the finish significantly.
How to Choose for Your Project
- Low-traffic piece (nightstand, decor): Paint alone is often enough, but a topcoat adds protection for little extra effort.
- Medium-traffic piece (dresser, buffet): Paint plus one topcoat.
- High-traffic piece (kitchen chairs, entryway bench, kids' furniture): Paint plus two thin topcoats, and consider a bonding agent if the surface is glossy.
How to Paint Furniture Without Brush Strokes: Step-by-Step for First-Timers
Learning how to paint furniture without brush strokes comes down to three habits: thin coats, the right roller, and a light finishing pass with a brush.
Total Time: 2-4 hours plus drying time Difficulty: Beginner
What You'll Need
Step 1: Clean the Surface [Time: 15 minutes]
Wipe down the piece with a TSP Alternative solution. The concentrate is strong, so add two capfuls to a spray bottle and fill with water. Let it dry completely.
Step 2: Scuff Sand [Time: 20 minutes]
Lightly scuff the surface and wipe away dust. You're creating texture for the paint to grip, not stripping the piece.
Step 3: Roll the Flat Areas [Time: 30 minutes]
Roll paint onto large flat surfaces first with the microfiber or microfelt roller.
Step 4: Smooth With a Brush [Time: 15 minutes]
Once an area is coated, glide a wide flat brush along it from end to end and back to front. This is the step that removes roller texture.
Step 5: Apply Thin Coats [Time: 2-3 hours with drying]
Apply 2-3 thin coats, allowing proper dry time between each. Thin coats level better and dry faster than one thick coat.
Beginner Furniture Painting Bundle – The Essentials You Need to Start Upcycling →
Expected Result: A flat, even surface with no visible brush strokes or roller marks.
The Best Roller for Painting Furniture (and Why Pile Height Decides Your Finish)
The best roller for painting furniture has a short pile, ideally 3 mm or less.
Standard household rollers have 10-15 mm nap. That nap leaves stipple, the orange-peel texture you see on cheap paint jobs.
StaalMeester Microfelt rollers come in 10 cm, 12 cm, and 18 cm widths and in packs of 2, 5, or 10.
When you finish, submerge the roller in water right away. Let paint dry on the felt and the roller is done.
How to Seal Painted Furniture Without Streaks
Sealing painted furniture without streaks means applying thin, even coats of topcoat with the same tool you painted with. A topcoat protects against chipping and moisture, and it's the step beginners skip most often.
Three rules for a streak-free seal:
- Apply thin coats, never a heavy wet layer
- Use the same roller or brush technique as your paint
- Let each coat dry fully before adding the next
On high-traffic pieces like kitchen chairs or entryway benches, a durable topcoat is not optional. Paint alone will wear through at the edges within months.
Common Mistakes Beginners Make With Furniture Refinishing Kits
The most common beginner mistakes are skipping prep, applying thick coats, and using the wrong roller. Each one shows up in the final finish.
Here's what to watch for:
- No cleaning: Grease and grime stop paint from adhering
- Heavy coats: Thick paint dries unevenly and shows brush marks
- Wrong roller: Long-nap rollers leave texture on every flat surface
None of these are hard to avoid. They're just easy to forget when you're excited to start.
Conclusion: Choosing Your First Kit
The gap between a streaky finish and a smooth one is rarely talent. It's prep, the right roller, thin coats, and a proper seal.
For most beginners, the Beginner Furniture Painting Bundle - Medium to Large Project at $110 covers a full dresser or buffet with nothing missing.

Our curated bundles include the exact prep products, tools, and finishes we use on our own flips, and shipping is free on orders over $100.
Frequently Asked Questions
How do I get the smoothest paint finish on furniture as a beginner?
Start with proper prep: clean the surface with a TSP alternative to remove grease and grime, then scuff sand lightly so paint adheres. Use a microfiber roller for large flat areas and follow immediately with a wide flat brush, gliding end to end and back to front. Apply two to three thin coats rather than one thick coat, and let each coat dry fully before adding the next. Thin coats level better and leave fewer marks than heavy ones.
Do beginners need to sand furniture before painting it?
A light scuff sand is worth the ten minutes it takes. You are not stripping the finish, just creating a slightly rough surface so paint grips properly. A sanding block with medium grit works for most pieces. After sanding, wipe away all dust with a damp cloth before you paint. Skipping this step is one of the most common reasons beginner paint jobs chip or peel within months.
What kind of paint roller gives the smoothest finish on furniture?
A microfiber or microfelt roller with a very short pile (around 3mm) gives the smoothest result. Thick, fluffy rollers from hardware stores leave a stippled orange-peel texture that shows under any sheen. The StaalMeester Microfelt Premium Paint Roller is designed for exactly this: roll the paint on first, then glide a wide flat brush over the wet surface from end to end to knock down any texture. That two-tool technique is what produces a streak-free finish.
How should I seal painted furniture without leaving streaks?
Apply your topcoat in thin, even coats using the same roller-and-brush technique you used for paint. Work in one direction on flat surfaces and avoid going back over areas that have started to dry, which is what causes streaks. Water-based topcoats like Tough Coat dry faster and level well. Let the sealer cure fully, usually 24 to 48 hours, before placing anything heavy on the surface.
Transforming your first piece shouldn't mean guessing which supplies to buy. Regained Relics curates beginner bundles with matched prep products, premium StaalMeester brushes and rollers, and durable topcoats so your finish holds up. Shop DIY Supplies and get 10% off your first order, then start your first flip with tools chosen by people who refinish furniture every week.