

Is a Paint Prep Kit Worth It for Furniture Makeovers?
Quick Summary
A paint prep kit is worth it when it matches the job: cleaning, degreasing, scuff sanding, and removing old wax cover most furniture needs. Skipping prep is the usual reason paint chips within weeks. Buy only the pieces your piece actually requires.
- Check the piece first for kitchen grease, old wax, sticky residue, and loose joints.
- Wipe with a damp cloth: a greasy film or dirt means the piece needs a full clean.
- Use the Fusion Mineral Paint TSP Alternative to degrease without rinsing, from $13.99 CAD.
- Scuff sand intact glossy finishes until they look uniformly dull under light.
- Vacuum and wipe away sanding dust after every pass, because dust stops paint bonding.
Table of Contents
- What a Paint Prep Kit for Furniture Makeovers Actually Contains
- Assessing Your Furniture Before You Buy Supplies
- Cleaning and Degreasing: Choosing the Best Degreaser for Furniture Painting
- How to Sand Furniture for Painting, or Whether You Need To
- When to Use Primer on Furniture
- Why Furniture Paint Chips Easily and How Prep Prevents It
- Building Your First Prep Kit and Starting Your Next Piece
- Frequently Asked Questions
What a Paint Prep Kit for Furniture Makeovers Actually Contains
Last Updated: November 14, 2026
A paint prep kit is a bundle of cleaners, sanders, and surface products that get a piece of furniture ready to take paint. The right kit is less about buying everything and more about matching a few well-chosen items to the job in front of you. Most beginners who skip prep end up with paint that chips within weeks, so the kit is worth understanding before you spend a dollar.
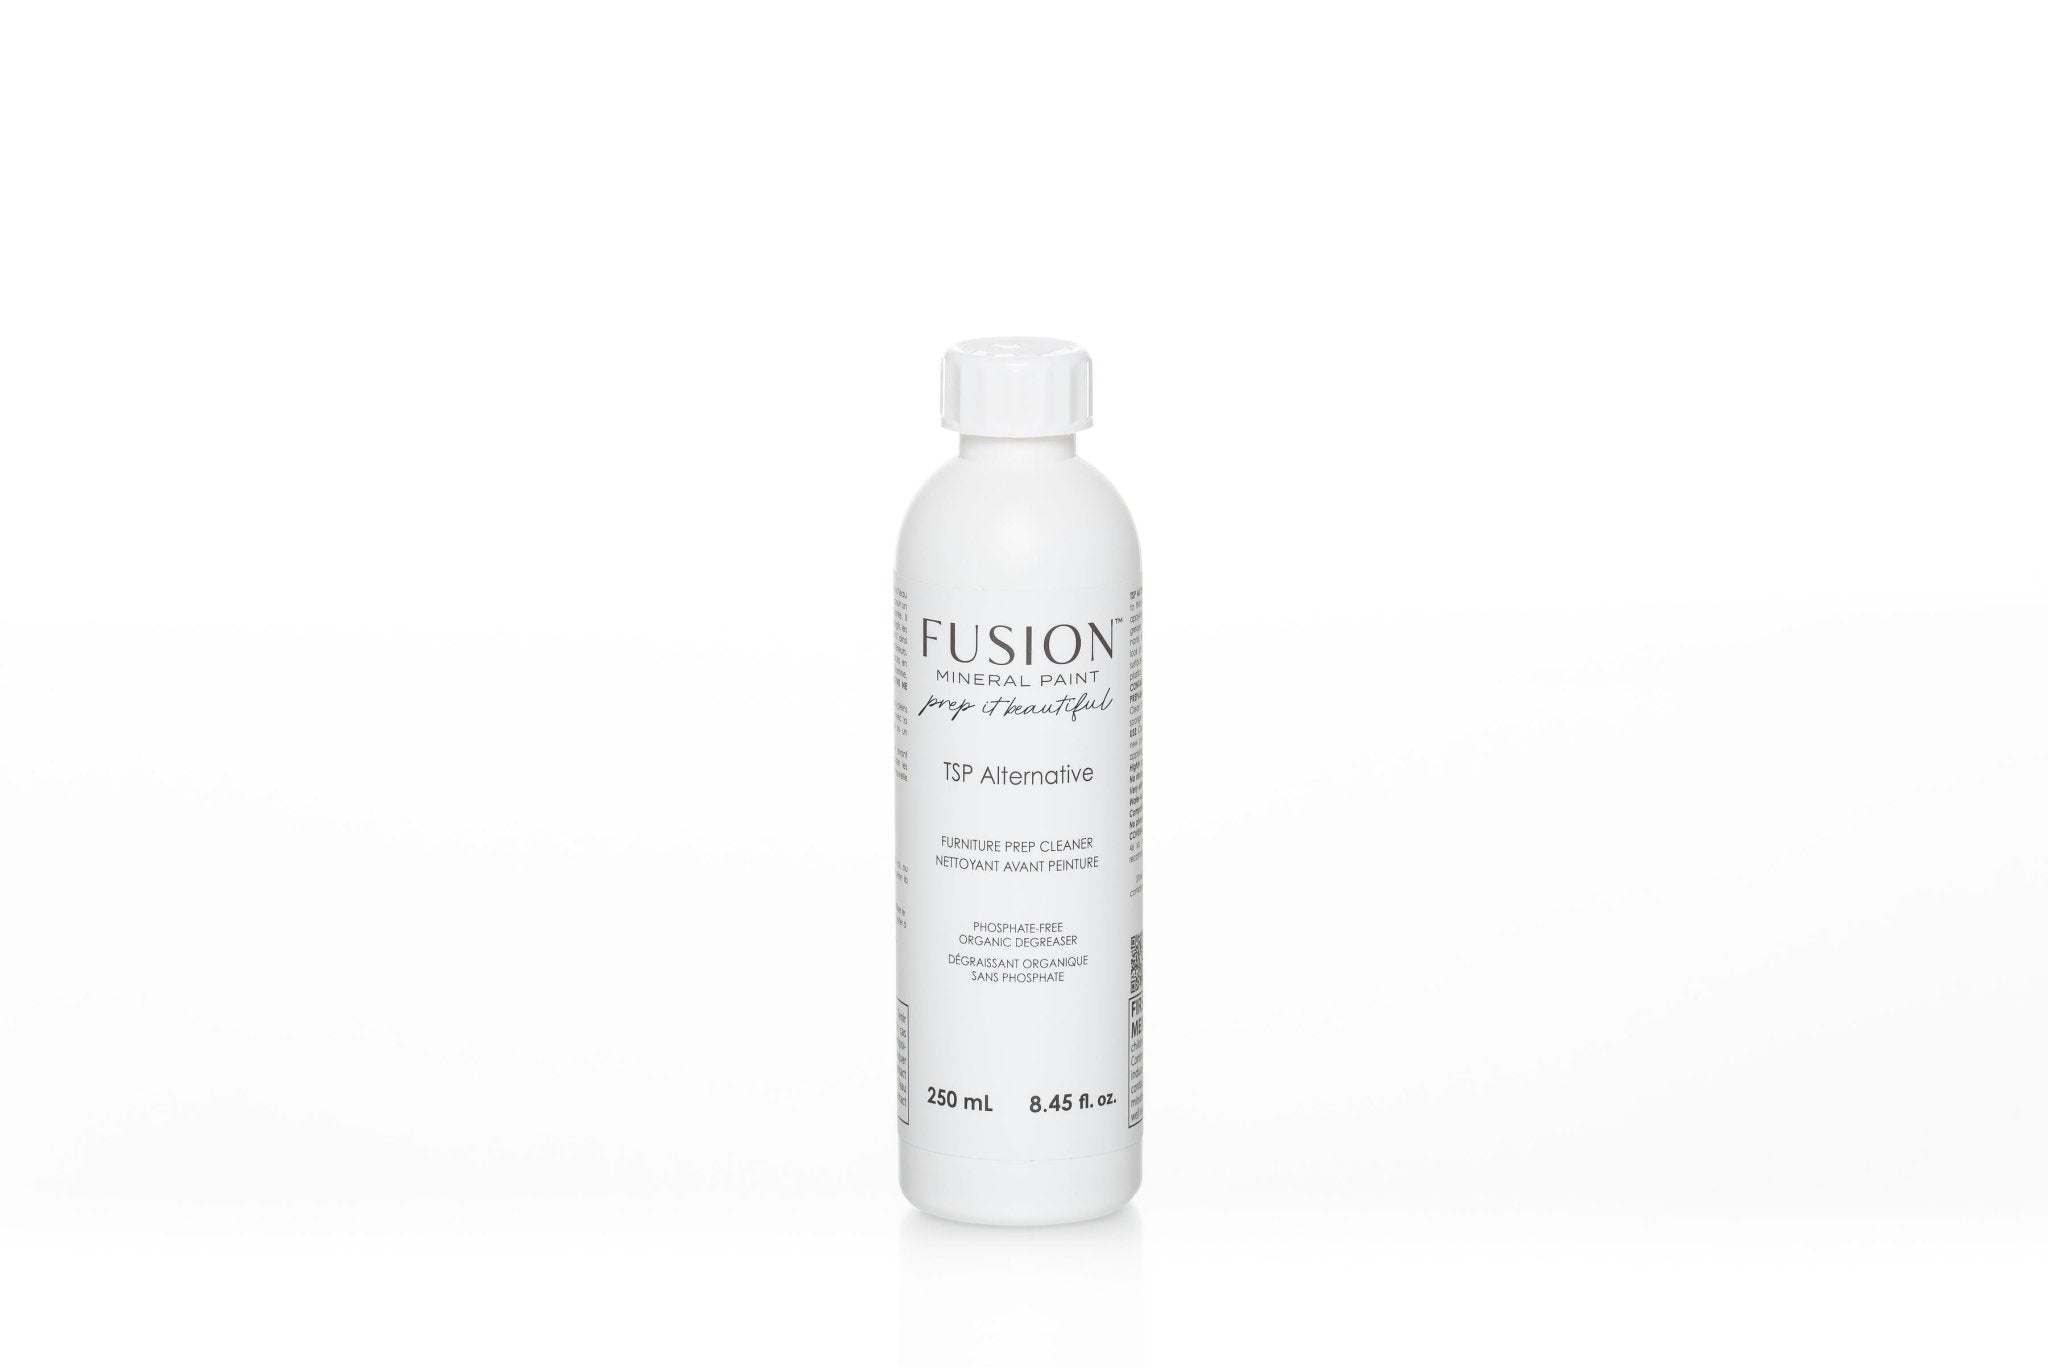
A typical kit covers four jobs: cleaning, degreasing, scuff sanding, and removing old wax or sticky residue. Our Fusion Mineral Paint TSP Alternative is a water-based degreaser that removes oil, grease, fingerprints, and stains without rinsing, and it is safe on wood, painted surfaces, melamine, and metal. Concentrated, two capfuls in a quart spray bottle goes a long way.
For a beginner, the Beginner Furniture Painting Bundle at $79.00 CAD gathers the essentials in one purchase. If you already have paint and brushes, you can build a smaller kit from the individual pieces or get the Furniture Painting Prep Bundle from Regained Relics for $46.00 CAD and save $10 on individual prices.
Assessing Your Furniture Before You Buy Supplies
Before buying anything, look hard at the piece. Check for grease from kitchen use, wax from a previous finish, sticky price-tag residue, and any loose joints or chipped edges. Those conditions decide which products you need and whether repairs come before paint.
Start with a simple test: wipe the surface with a damp cloth. If the cloth picks up dirt or a greasy film, the piece needs a full clean. If the old finish is glossy and slick, it needs scuffing so paint has something to grip.
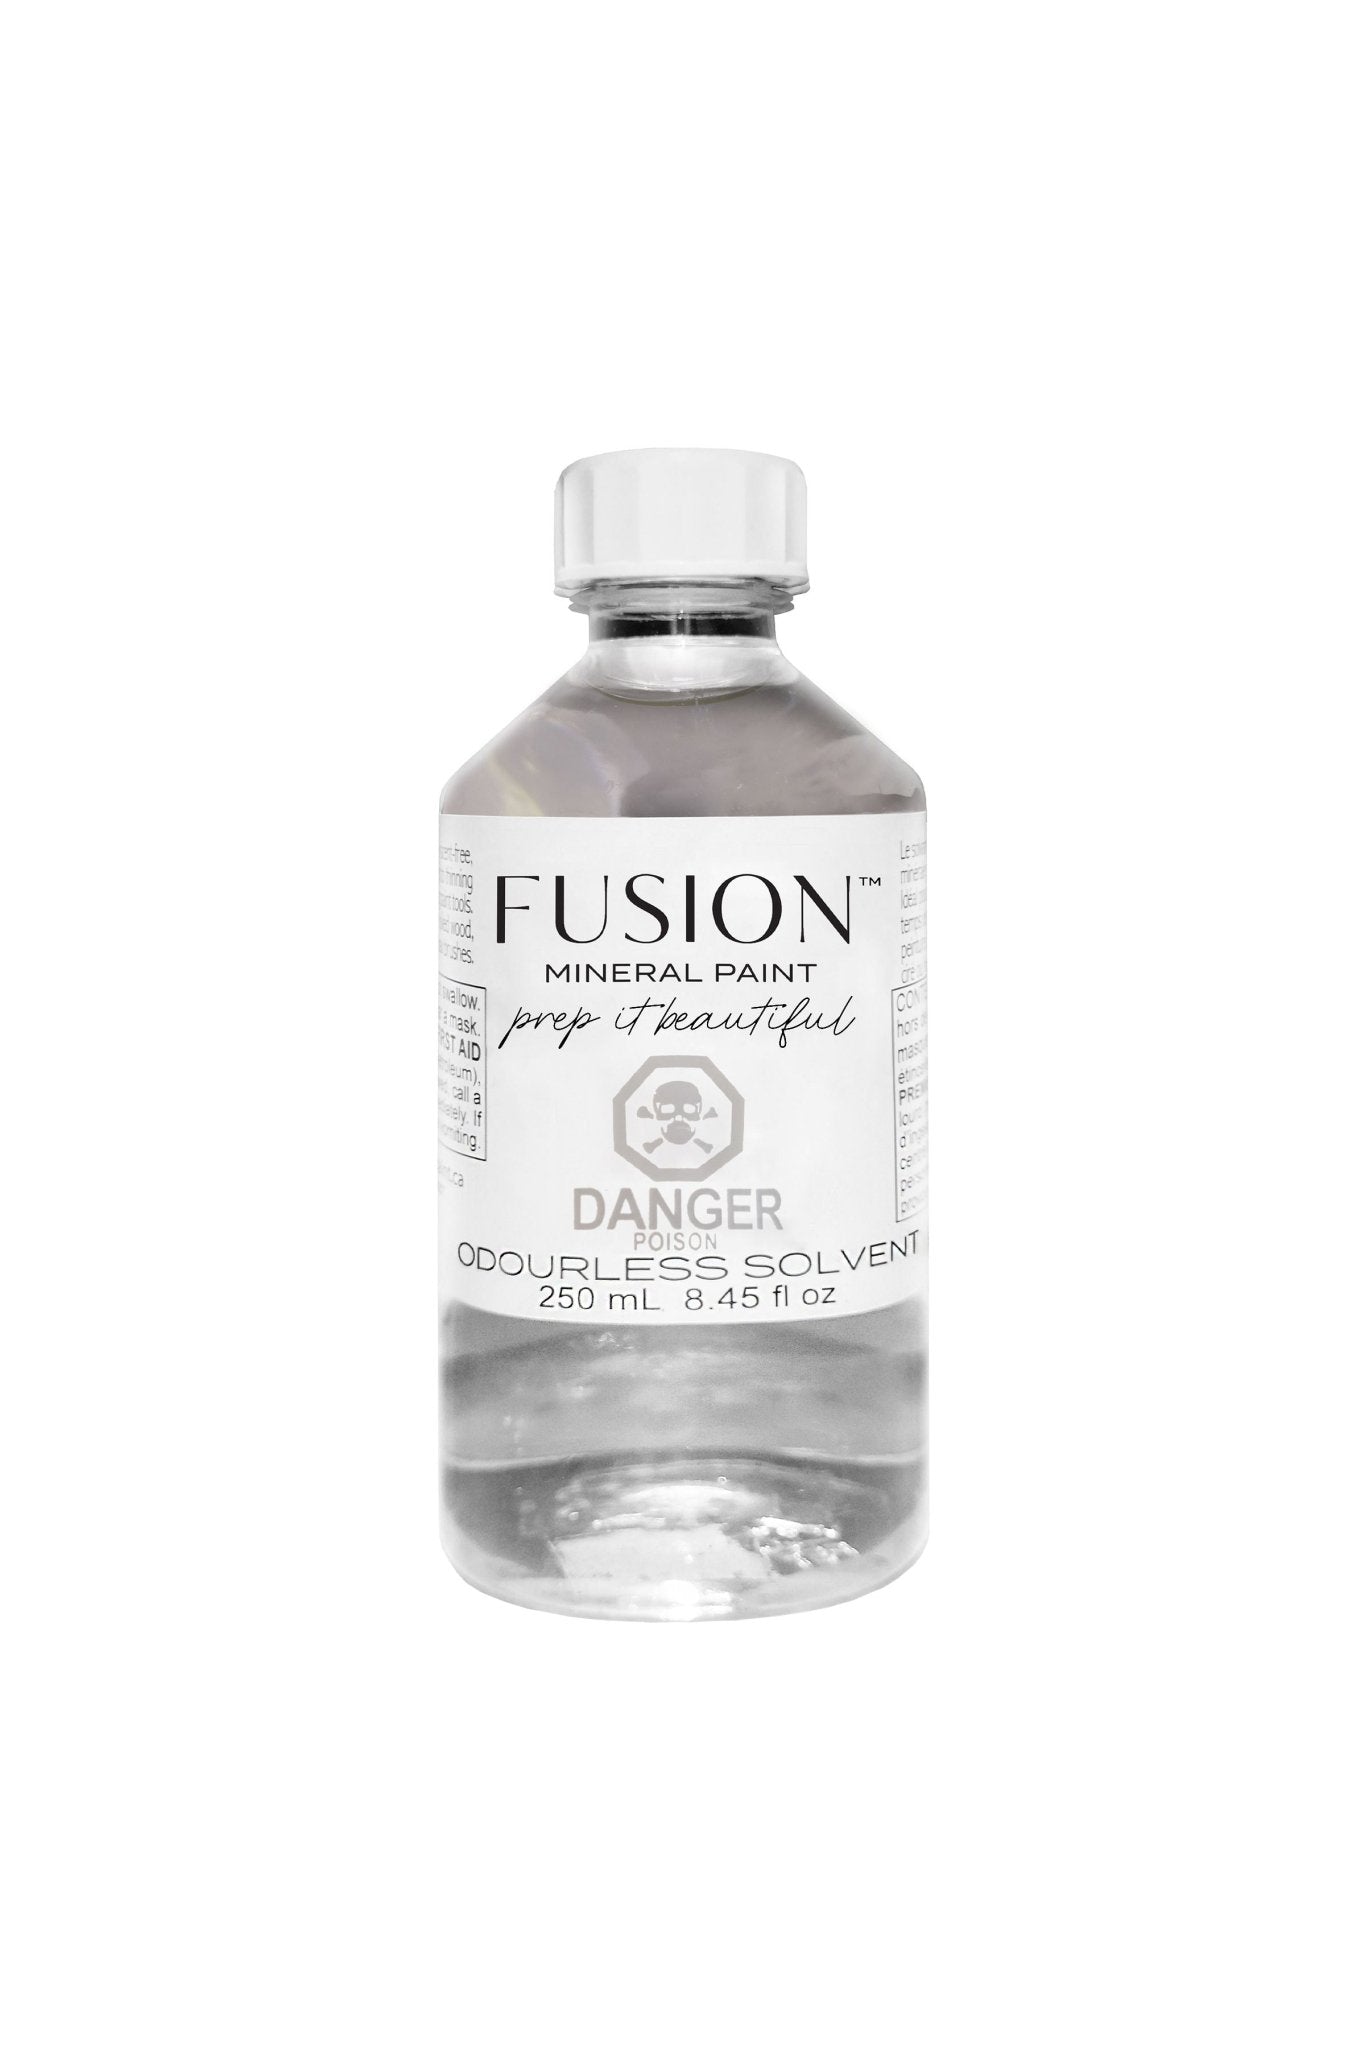
Pieces that have been waxed need a solvent step. Our Odourless Solvent removes wax from previously waxed furniture and lifts sticky residue. It can also be used to clean brushes used with oil or wax products.
Cleaning and Degreasing: Choosing the Best Degreaser for Furniture Painting
A good degreaser for furniture painting cuts grease and leaves no film behind, since residue left on the surface can stop paint from bonding.
A water-based, phosphate-free cleaner suits many pieces. The Fusion Mineral Paint TSP Alternative (from $13.99 CAD) is biodegradable, contains no phosphates, and needs no rinsing.
For waxed or sticky pieces, use the Odourless Solvent first, then follow with the TSP Alternative to clear any remaining film.
Skipping the degreasing step on kitchen furniture can lead to paint that peels off in patches.
How to Sand Furniture for Painting, or Whether You Need To
Sanding is not always necessary, but some preparation of the surface almost always is. The right method depends on three things: what the surface is made of, what is already on it, and how hard the finished piece will be used. Get those three answers first, then choose between a no-sand approach, scuff sanding, and full sanding.
Match the Prep Method to the Surface
Use this as a decision guide before you touch a sander.
- Solid wood with an intact clear finish: scuff sanding is usually enough. Dull the sheen uniformly, wipe off the dust, and paint.
- Solid wood with bare or worn areas: spot-sand the bare patches and feather the edges of the old finish so the paint does not create a ridge.
- Veneer: treat it as thin and fragile. Sand lightly by hand with a fine grit and keep the block flat; a power sander on a rounded edge can cut through the veneer in seconds. If the veneer is lifting, bubbling, or chipped, repair or stabilize it before sanding further.
- Laminate and melamine: these are non-porous and glossy. A thorough degrease followed by a fine scuff sand to kill the shine gives paint a mechanical key; a bonding primer is often the safer route on high-wear surfaces.
- Glossy factory finishes: scuff until the surface looks uniformly dull under light. Any shiny patch left behind is a spot where paint may not grip.
- Previously painted surfaces: scuff the intact paint, but sand back and feather any peeling or flaking edges. Paint applied over a failing coat will fail with it.
Scuff Sanding Versus Full Sanding
Scuff sanding works when the existing finish is intact and sound. Full sanding is needed when the old paint is peeling, flaking, or thick with layers that no longer adhere. A quick check: if you can scratch off some flakes of paint with your fingernail, sand it down further. If the finish stays tight, scuffing is usually enough.
A common pattern is to work through a fine grit rather than jumping straight to a coarse one. Start with a medium grit to cut the gloss, then finish with a fine grit to smooth the scratches the first pass left behind. Always sand with the grain on visible wood, and keep the block flat on edges so you do not round them over.
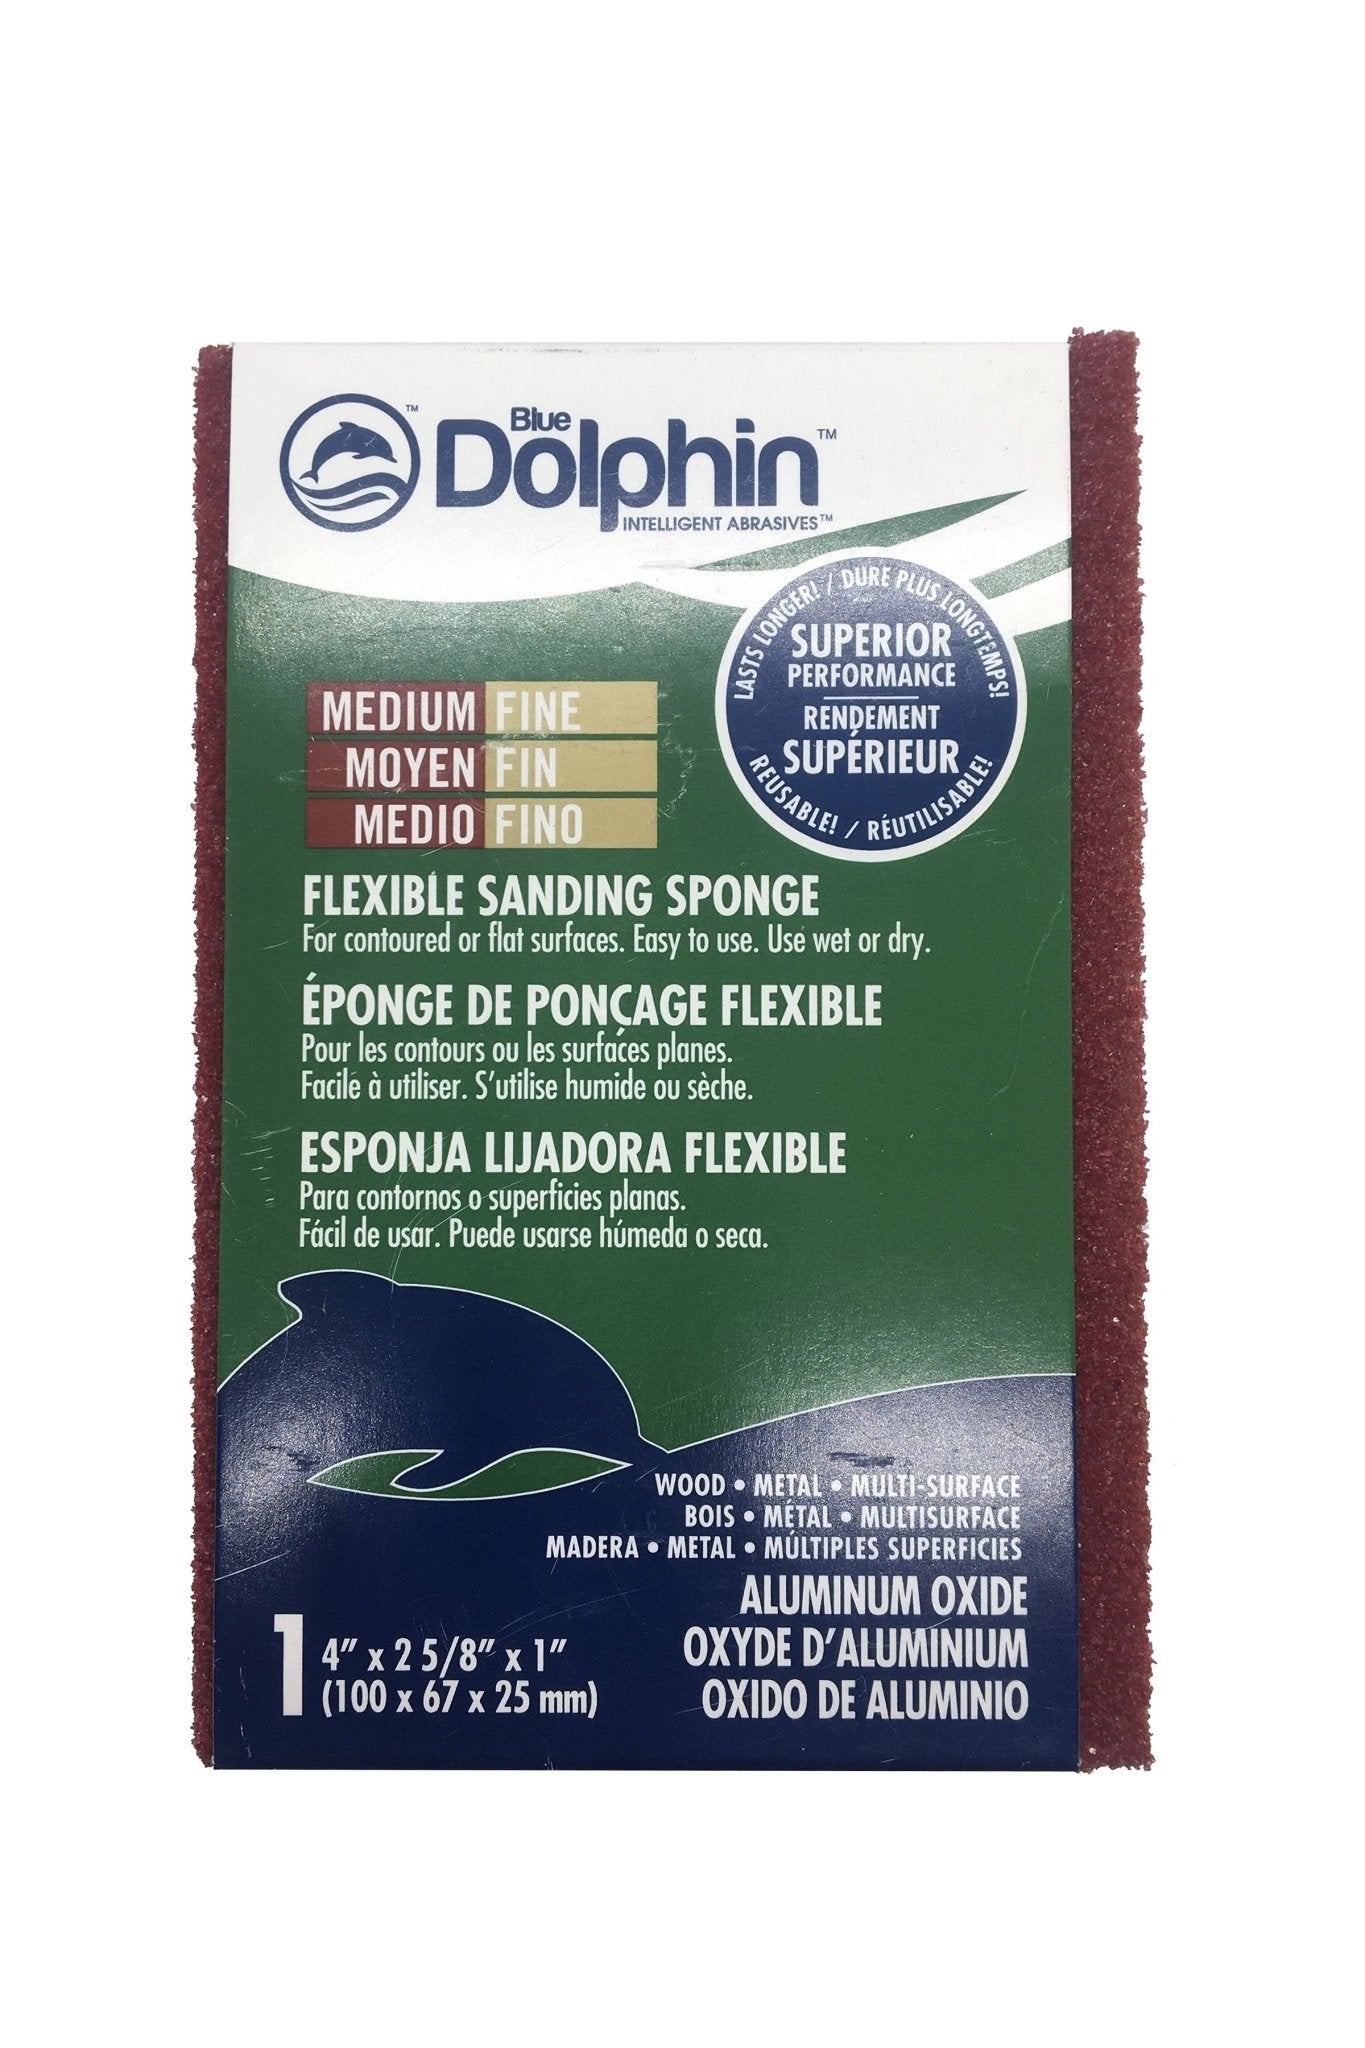
The Paint Prepping Fine Medium Sanding Block (from $4.99 CAD) is designed for scuff sanding. Use it after cleaning and wipe away the dust with a damp cloth.
When You Can Skip Sanding
A no-sand method is reasonable when the surface is already clean, sound, and only lightly glossy, and when the paint you are using is formulated to bond without a mechanical key. It is a poor choice on high-wear surfaces such as tabletops and chair seats, on glossy laminate, and anywhere the old finish is already failing. If you choose no-sand, follow the paint manufacturer's instructions exactly, because the bonding step moves from the sandpaper to the product.
Watch out: sanding dust left on the surface will stop paint from bonding just as surely as grease will, so vacuum and wipe the piece down after every sanding pass, not just at the end.
The article's guidance on which prep method suits each surface can be scanned at a glance:
Surface |
Recommended prep |
Note |
|---|---|---|
Solid wood, intact clear finish |
Scuff sanding |
Dull sheen evenly, wipe off dust |
Solid wood, bare or worn areas |
Spot-sand |
Feather edges of old finish |
Veneer |
Light hand sanding |
Fine grit, keep block flat |
Laminate and melamine |
Degrease, fine scuff sand |
Bonding primer safer on high-wear surfaces |
Glossy factory finish |
Scuff until uniformly dull |
Shiny patches may not grip |
Previously painted |
Scuff intact paint |
Sand back peeling or flaking edges |
When to Use Primer on Furniture
Primer is needed when you are covering a dark finish with a light color, working on bare or stained wood, or painting over a surface that bleeds through, such as tannin-rich timber or old water stains. For most mineral paint projects, you will not need a separate primer, but a stained or water-damaged piece almost always benefits from one. For a deeper look at whether primer is needed after sanding, read our guide on whether you need to prime furniture after sanding.
No-Sand Paint, Sanding, or Primer: How to Choose
The three approaches are not interchangeable, and the right one follows from the surface condition and the durability you need.
- No-sand paint: best for clean, sound, lightly glossy surfaces and low-wear pieces. It saves time but depends entirely on the product's bonding chemistry, so surface cleaning has to be thorough.
- Sanding plus paint: best when the finish is intact but glossy, or when you want a mechanical key without adding a primer coat. It suits solid wood and stable veneer.
- Primer plus paint: best when you need to block a stain or tannin, cover a dark color with a light one, bridge a bare or porous surface, or improve adhesion on laminate and melamine. It adds a coat and drying time but reduces the risk of bleed-through and poor bonding.
As a general rule, if the surface is sound and clean, sanding or a no-sand product can carry the job; if the surface is bare, stained, dark-to-light, or non-porous, a primer is worth adding.
Troubleshooting Adhesion Failures and Surface Defects
Most paint failures trace back to something that was on or in the surface before the first coat. Diagnose the symptom before you repaint.
- Peeling or flaking in sheets: usually contamination, such as wax, silicone polish, or grease, or paint applied over a failing old coat. Strip or sand back to a sound surface, degrease, and test again.
- Bleed-through and yellowing: tannins in timber and old water or smoke stains migrate through paint. A stain-blocking primer is the fix; painting more color over the top will not stop it.
- Fish-eye or cratering: often silicone or oil contamination. Clean with a solvent step, then a degreaser, and sand the affected area back before recoating.
- Uneven sheen or visible sanding scratches: the surface was not sanded progressively or the dust was not removed between passes. Sand finer, wipe down, and repaint.
- Paint that stays soft or tacky: coats applied too thick, or recoating before the previous coat had dried. Thin coats and patience cure harder.
A waxed or silicone-polished piece can look clean and still repel paint, so a solvent step followed by a degreaser, and a test on a small hidden area, is a sensible precaution.
Why Furniture Paint Chips Easily and How Prep Prevents It
Furniture paint chips when it is applied to a dirty, glossy, or waxy surface. The paint sits on top of the contamination rather than on the material underneath, so any knock or friction lifts it away.
Good prep removes that barrier. Clean with a degreaser, remove any wax, scuff the surface, and dust it off before the first coat. Thin coats applied over a clean surface cure harder and resist wear far better than thick coats over a dirty one.
Building Your First Prep Kit and Starting Your Next Piece
A prep kit pays off most when you use it on a real project. Start with the Beginner Furniture Painting Bundle if you are new, or build your own kit from the TSP Alternative, Odourless Solvent, and a sanding block. Clean, degrease, scuff, dust, and paint, and the finish will hold up to daily use. Pick your next piece, gather your supplies, and begin.
Frequently Asked Questions
What should be included in a furniture painting prep kit?
A practical furniture painting prep kit covers four jobs: cleaning, sanding, repairs and priming. For cleaning, a water-based degreaser such as Fusion Mineral Paint TSP Alternative at $13.99 removes oil, grease and fingerprints without rinsing. For scuff sanding, a Paint Prepping Fine Medium Sanding Block at $4.99 improves paint adhesion. Add an odourless solvent at $13.99 for wax and price-sticker residue. The Beginner Furniture Painting Bundle at $79.00 is designed for first-time upcyclers.
Do I really need to sand furniture before painting?
Not always, but most pieces benefit from at least a light scuff. Sanding gives the paint a slightly textured surface to grip, which is the main reason paint chips or peels later. Glossy or heavily varnished furniture often benefits from a scuff sand after cleaning. Wipe away sanding dust with a damp cloth before painting.
How do I know if my furniture needs a primer?
Primer is worth using when the piece is dark, heavily stained, or has bleed-through from old finishes, or when you want a bright colour over a dark original. Laminate, melamine and very glossy surfaces also benefit from a bonding primer. Bare, clean, previously unfinished wood often does not need one.
