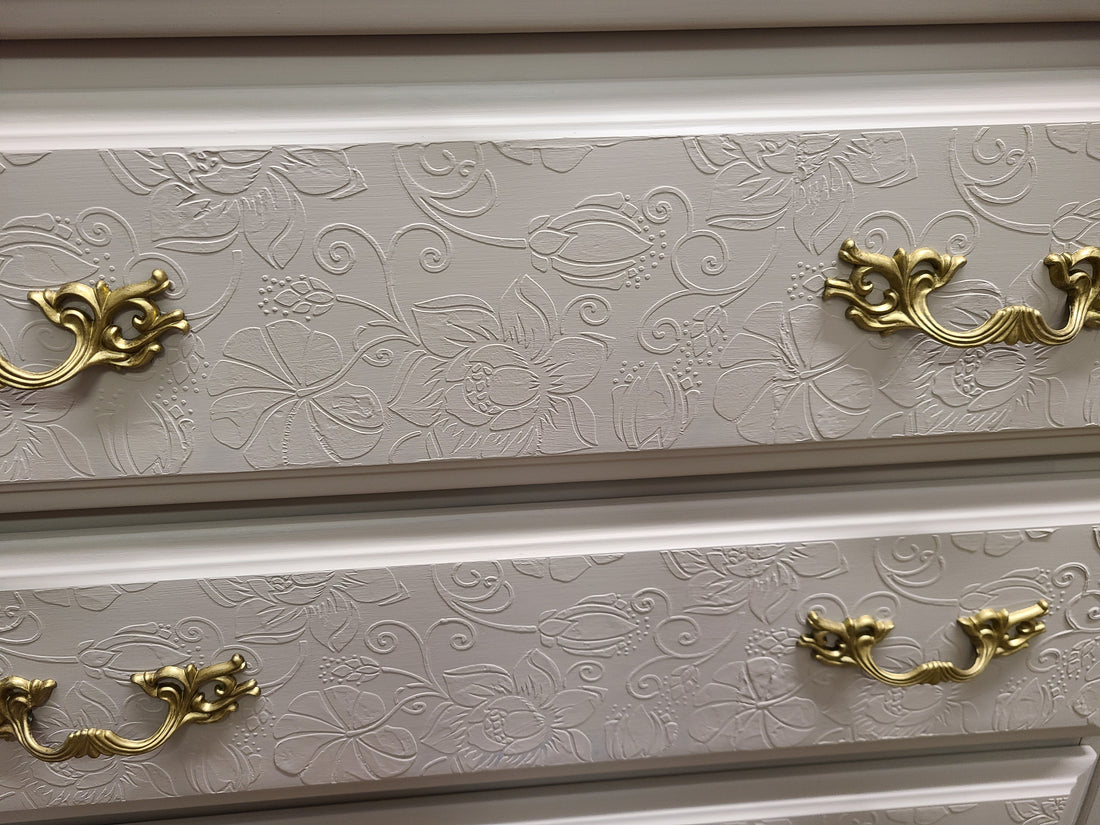
Creating a Raised Stencil on Your Furniture Project
Share
🌿 Creating a Raised Stencil on Your Furniture Using Fusion’s Smooth Embossing Paste
Looking to add a touch of elegance and texture to your furniture projects? Fusion’s Smooth Embossing Paste is a game-changer. With just a stencil and a palette knife, you can create stunning raised designs that elevate your piece from simple to statement.

✨ Step-by-Step Guide to Raised Stenciling
1. Prep Your Piece As with any paint project, start by cleaning and prepping your furniture. Use TSP Alternative to make sure the surface is smooth, dry, and free of dust or dirt.
2. Position Your Stencil Place your stencil exactly where you want your raised design. Secure it tightly using painter’s tape or stencil spray adhesive. A snug fit is key—this prevents the embossing paste from seeping underneath.
3. Apply the Embossing Paste Using a palette knife or similar tool, spread Fusion’s Smooth Embossing Paste evenly across the stencil. Scrape back any excess to ensure a clean, consistent layer. The goal is a smooth, even coating that captures every detail of the stencil.
4. Reveal the Texture Gently lift the stencil to unveil your raised design. It’s always a satisfying moment! Immediately clean your stencil with water and a soft cloth to keep it in good condition for future use.
5. Let It Dry Allow the embossing paste to dry overnight. This ensures it hardens properly and is ready for paint.
6. Add Color and Character Once dry, paint over the raised stencil with your favorite Fusion Mineral Paint shade. For added depth, consider dry brushing a contrasting color over the texture to highlight the details.

🖌️ Final Touches
Raised stenciling adds a beautiful, tactile element to furniture that’s both subtle and striking. Whether you're going for vintage charm or modern flair, this technique is a simple way to make your projects truly unique.

